| Control Area | What It Actually Influences | Numbers You Can Anchor To | Most Common Visual Clue | Trade-Off to Keep in Mind |
|---|---|---|---|---|
| Nozzle Temperature | Viscosity and how easily plastic keeps flowing during travel. | Adjust in 5–10°C steps when isolating stringing behavior. | Long, hair-like strings between separated features. | Too low can reduce surface bonding and produce a drier extrusion look. |
| Retraction Length | How much molten filament is pulled back to relieve pressure at the tip. | Direct-drive profiles can be ≤ 2 mm; Bowden-style can be 3.2 mm or higher; some setups go up to 7 mm. | Thin threads that persist even with fast travel moves. | Excess can raise re-prime delay, seam artifacts, or intermittent under-extrusion. |
| Retraction Speed | How fast pressure is reduced before a travel move. | Values around 25 mm/s are a common baseline in many slicer profiles. | Strings concentrated right after a perimeter ends. | Too high can push extruders toward skipping on demanding hardware. |
| Travel Speed | How long the nozzle has to ooze while not extruding. | Travel speeds like 150 mm/s are commonly used on capable machines. | Short “webs” that appear mostly between separate towers/parts. | Very high travel can reveal motion limits (ringing, vibration) on some printers. |
| Minimum Layer Time | Whether the nozzle pauses (hot, pressurized) over the print. | Many materials behave well around 3 s minimum layer time. | Blobs or zits at the same spot on many layers. | Too low can overheat small features without enough cooling time. |
| Pressure Control | Extruder pressure planning during acceleration/deceleration. | Firmware pressure tools often operate in ranges like 0.050–1.000 (implementation-dependent). | Ooze during non-extrude moves plus corner blobbing in the same print. | Must match your extruder, nozzle, and filament; changes can be spool-specific. |
The numeric anchors above reflect widely used baseline guidance from Prusa knowledge base materials[a] and BCN3D support documentation[b], plus firmware documentation for pressure tools[c] and[d], and slicer behavior notes from Polymaker’s printing-issue guide[e].
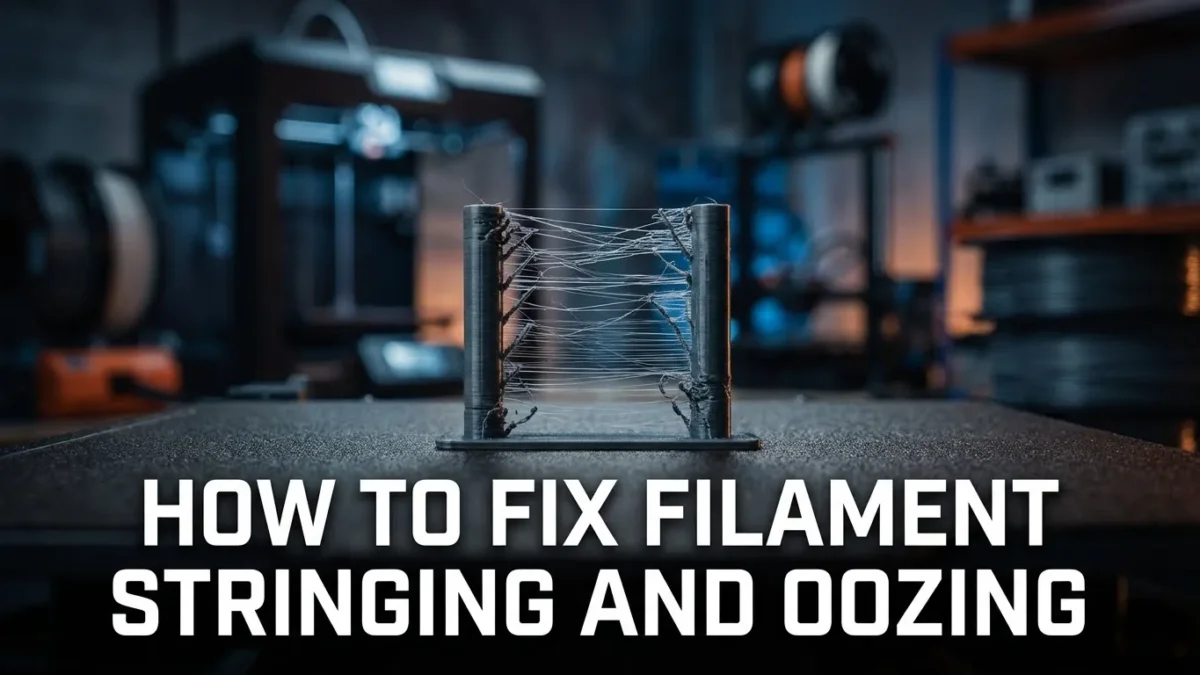
Stringing and oozing are the same core event: molten polymer keeps moving when the machine is “not supposed to be printing.” The nozzle travels, pressure relaxes slowly, and a thin thread forms. The goal is not a magical setting; it’s understanding which physical driver is dominating on your setup, then narrowing the controls that truly affect it.
- FDM/FFF focus, no fluff
- Slicer mechanics explained
- Firmware pressure tools
- Filament condition signals
- Hardware causes that imitate tuning issues
- Stringing
- Thin “hair” between islands caused by residual flow during travel.
- Oozing
- Uncommanded material output that can become strings, blobs, or small surface zits.
- Seam
- A localized mark where a perimeter starts/ends; often confused with oozing but shaped by start/stop pressure.
- Blobs
- Visible extra material, commonly triggered by pauses, restarts, or over-priming.
Table of Contents
🧵 What You See and What It Usually Points To
Visual Patterns That Matter
- Very fine hairs across long gaps often correlate with high melt flow (temperature too high for that spool, or pressure not being relieved fast enough).
- Thicker “webbing” between separate parts often correlates with slow travel or travel paths that cross open air repeatedly.
- Blobs at layer starts often correlate with restart pressure (prime amount, seam placement, or pause behavior).
- Random pockmarks + inconsistent surface can correlate with humidity in filament and unstable extrusion.
- Strings plus intermittent under-extrusion can correlate with too aggressive retraction for the hotend path (heatbreak friction, retraction length, or speed).
A useful mental model: stringing severity scales with (pressure × time). Pressure comes from melt temperature, extrusion dynamics, and hotend geometry. Time comes from travel duration and pauses. That’s why a single setting rarely “fixes everything.”
⚙️ Why It Happens in FDM (Without the Hand-Waving)
Molten polymer is viscoelastic, not water. When the extruder stops, the melt inside the nozzle still contains stored pressure. On a travel move, that pressure releases through the only exit: the nozzle tip. The longer the nozzle stays hot over open space, the more likely a strand forms.
Retraction is a pressure-management trick. It pulls filament back, reducing the melt pressure at the tip. But if the path between extruder and melt zone is long or springy (classic Bowden behavior), the system behaves like a tiny compressible column. That’s why different machines can demand dramatically different values.
Stringing is often visible on the outside. Oozing can be visible or hidden inside walls. Settings that keep ooze “inside perimeters” can still be excellent for clean outer surfaces, even if a small amount of internal ooze continues.
🌡️ Temperature and Melt Flow (The Biggest Lever on Many Prints)
Nozzle temperature is the viscosity dial. Higher temperature makes the melt more willing to flow, so pressure decays slower and strings form more easily. In Prusa guidance, a practical isolation step is adjusting nozzle temperature by 5–10°C and re-checking the same geometry[a].
Temperature-Driven Artifacts Often Look Like This
- Long, consistent hairs between repeated islands (temperature slightly high, or travel too slow for the chosen temp).
- Glossy “wet” look plus light strings (melt is very fluid at that temperature for that spool).
- Dull, interrupted extrusion once temperature is lowered too far (flow begins to struggle).
One detail people miss: travel time matters as much as temperature. If travel moves are long, the nozzle spends longer in “non-extrude, still-hot” mode. That’s why temperature tuning should always be read together with travel speed and path planning.
🧩 Retraction: Distance, Speed, and the Settings Around It
Retraction length is highly machine-dependent. In Prusa’s own presets, direct-drive MK-series profiles are recommended to stay at a maximum of 2 mm, while a Bowden-style MINI preset uses a longer default of 3.2 mm[a].
Bowden setups can demand more distance because the filament path stores more elastic energy. BCN3D’s support guidance describes increasing distance up to around 7 mm if needed, and uses baseline values such as 25 mm/s retraction speed and 18 mm/s prime speed when tuning stringing behavior[b].
Retraction-Related Slicer Controls That Quietly Matter
- Minimum travel after retraction: prevents retraction on tiny hops; too high can leave more ooze on “micro-islands.”
- Retract on layer change: reduces pressure before the next layer start; often left enabled in many profiles.
- Wipe while retracting: uses nozzle motion during retraction to pull away from the perimeter end; it’s a small move with a big visual impact.
- Only retract when crossing perimeters: keeps unavoidable ooze inside walls, where it’s less visible.
A common over-correction is stacking “more retraction distance” plus “very high speed” plus “extra travel speed” all at once. The system can become inconsistent: the hotend pressure is relieved, then re-built too abruptly at the next start, leaving seam blobs that look like a different problem.
🧭 Travel Moves: Path Planning, Speed, and When the Nozzle Crosses Open Air
Travel speed reduces the time available for ooze. BCN3D explicitly points out that faster travel reduces stringing opportunity and cites values like 150 mm/s travel speed as a solid baseline on many machines[b].
Travel Behavior That Typically Lowers Visible Strings
- Avoid crossing perimeters: when the slicer chooses travel paths that don’t cut across external walls, any minor ooze is less likely to become a visible bridge.
- Combing / travel inside walls: keeps the nozzle moving through “safe” zones so any ooze is hidden within internal geometry.
- Shorter inter-part travel: less air time, fewer strings between separate pieces.
When printing multiple objects, finishing one object at a time can reduce travel between parts and therefore reduce stringing/oozing between them, as described in PrusaSlicer’s sequential printing documentation[f].
🧠 Pressure Tools: Linear Advance and Pressure Advance
Pressure compensation aims at the source: it anticipates pressure buildup and decay so the nozzle tip is not “over-pressurized” at the moment it stops extruding. In Marlin, this feature is documented as Linear Advance (K-factor based pressure planning)[c].
In Klipper, the analogous concept is Pressure Advance, documented as helpful in reducing ooze during non-extrude moves. Klipper also states typical pressure advance values are between 0.050 and 1.000, with higher values more common on Bowden extruders[d].
How Pressure Tools Change the “Feel” of Tuning
- Retraction becomes less overloaded: pressure tools handle a slice of the “ooze problem,” so retraction no longer has to do all the work.
- Corner blobs often calm down: because pressure is reduced earlier in deceleration and rebuilt earlier in acceleration.
- Filament-to-filament variation becomes more obvious: the same extruder/nozzle can require different values across different spools.
🌀 Cooling, Minimum Layer Time, and “Hidden Pauses”
Pauses create blobs because the nozzle stays hot and pressurized while the toolhead lingers over one area. Polymaker describes minimum layer time as a frequent culprit: if the layer finishes early, the head may pause, and they note that 3 seconds minimum layer time is often sufficient for most materials[e].
Cooling and layer time are a balance. Too much enforced delay can cause oozing; too little time without adequate cooling can soften tiny features. That’s why it helps to treat fan behavior and minimum layer time as one coupled system, not separate toggles.
Power-loss recovery style pausing can also leave repeating blobs if a printer briefly stops after each layer to record state. Polymaker notes this mechanism directly and ties it to blob formation patterns across the model surface[e].
💧 Filament Condition: Humidity, “Stringy” Behavior, and Consistency
Most FFF materials are hygroscopic to some degree, meaning they attract water from the surrounding air. Prusa explicitly connects humidity uptake to unexpected print behavior and lists signals such as surface quality drop, blobs, bubbling, and increased stringing when moisture is present[g].
What Moisture-Related Stringing Often Looks Like
- Inconsistent strands that appear and disappear within the same print.
- Surface “fizz” texture on perimeters alongside normal-looking sections.
- Bubbles during extrusion and occasional popping sounds (a strong indicator on some materials).
Storage strategy matters because it reduces the need for intervention later. Prusa recommends closed storage with desiccant and highlights that some materials are affected more strongly than others, which is why “same settings, new spool” can suddenly behave differently[g].
🛠️ Hardware Causes That Mimic Tuning Problems
Not all stringing is a settings issue. If a hotend is not dissipating heat properly, the melt zone can behave longer than expected, and pressure becomes harder to control. Prusa notes that repeated high-temperature cycling changes parts over time and that thermal paste can turn crusty, which can affect hotend behavior[h].
Hardware Signals Worth Recognizing
- Ooze continues even after strong retraction: can indicate hotend pressure is staying elevated longer than expected (thermal behavior, heatbreak issues).
- Sudden changes after maintenance: a small mismatch in assembly can shift the thermal profile and show up as new strings or blobs.
- Inconsistent extrusion paired with stringing: can indicate friction, partial blockage, or path resistance that makes retraction/prime less repeatable.
FAQ
Can stringing be “normal” even on a well-tuned printer?
Yes, a small amount can appear depending on geometry and material behavior. The practical goal is usually minimizing visible strings on external surfaces while keeping starts and seams clean.
Why does stringing get worse when printing multiple parts at once?
More inter-part travel means more time where the nozzle is hot, pressurized, and moving without extrusion. More travel through open air increases the chance that ooze becomes a visible strand.
If I raise retraction a lot, why do I sometimes get blobs at the seam?
Retraction changes restart pressure. When the system re-primes, pressure can rebuild abruptly, and the seam becomes the place where that change is visible. Balancing distance, speed, and any wipe behavior usually matters more than pushing one value extremely high.
Do firmware pressure features replace retraction?
They complement it. Pressure tools target pressure changes during motion, while retraction targets pressure relief during travel. Many setups still benefit from a modest, stable retraction even with pressure control enabled.
How can I tell if moisture is involved without guessing?
Look for consistency. Moisture-related behavior often looks uneven within the same print: strings that come and go, surface texture shifts, and sometimes bubbling during extrusion. When the same G-code swings between clean and messy sections, filament condition becomes a prime suspect.
Sources
-
[a]
Prusa Knowledge Base — Stringing and oozing -
[b]
BCN3D Support — Stringing -
[c]
Marlin Firmware Documentation — Linear Advance -
[d]
Klipper Documentation — Pressure advance -
[e]
Polymaker Wiki — Blobs and Oozing -
[f]
Prusa Knowledge Base — Sequential printing -
[g]
Prusa Knowledge Base — Drying filament -
[h]
Prusa Knowledge Base — Hotend disassembly & heatbreak stuck in the heatsink