| Focus | What To Watch | Why It Changes The Result |
|---|---|---|
| Glow Pigment Family | SrAl₂O₄-based persistent phosphors (commonly rare-earth activated, e.g., Eu/Dy systems)[d] | The polymer is mostly the carrier; the glow comes from an inorganic phosphor that stores and releases light energy over time. |
| Charging Light “Compatibility” | Strontium-aluminate phosphors can be excited by ultraviolet light (example: UV excitation reported at 344 nm with green emission behavior for SrAl₂O₄:Eu²⁺)[e] | More effective charging light means a brighter start and a longer-looking afterglow for the same print. |
| Baseline Settings Example (PLA Glow) | Density 1.24 g/cm³; Tg 55–60°C; Nozzle 185–225°C; Bed 0–45°C; Layer height 0.05–0.35 mm; Shell thickness 0.40–2.4 mm; Print speed 40–110 mm/s; Storage under 50°C[a] | Glow filaments are often “easy like PLA,” but the phosphor filler can shift flow and surface finish—so treat the datasheet window as the safe playground. |
| Drying, Retraction, Speed Example (PLA Glow) | Dry 55°C for 8 h; Storage/printing humidity <20% RH (sealed with desiccant); Nozzle 190–230°C; Nozzle sizes 0.4/0.6/0.8 mm; Bed 35–45°C; Retraction 0.6–1.0 mm at 20–40 mm/s; Speed <250 mm/s[b] | Glow prints look “dusty” or inconsistent when moisture or retraction is off. Drying and controlled retraction usually fixes it faster than chasing temperature. |
| Moisture Uptake Reality (PLA Baseline) | Moisture absorption reported at 0.13% (24 h) and 0.19% (7 days) at 24°C / 22% RH (PLA datasheet example)[f] | Even modest moisture can show up as bubbles, rough surfaces, and weaker glow because the surface scatters light instead of letting it “charge cleanly.” |
| Nozzle Wear Note | Glow fillers can increase wear on softer nozzles; manufacturer guidance highlights brass nozzle wear and recommends more wear-resistant nozzle choices[c] | The glow powder behaves like a hard filler inside molten plastic. Over time it can widen the orifice, softening details and changing flow. |
| Printing Space Controls | Engineering controls like ventilated enclosures, local exhaust ventilation, and HEPA filtration are reported to reduce particle emissions by ~97–99% in enclosure/LEV studies[g] | Steadier air (and cleaner air) keeps prints consistent: fewer drafts, fewer random cooling artifacts, and a nicer working environment around the machine. |
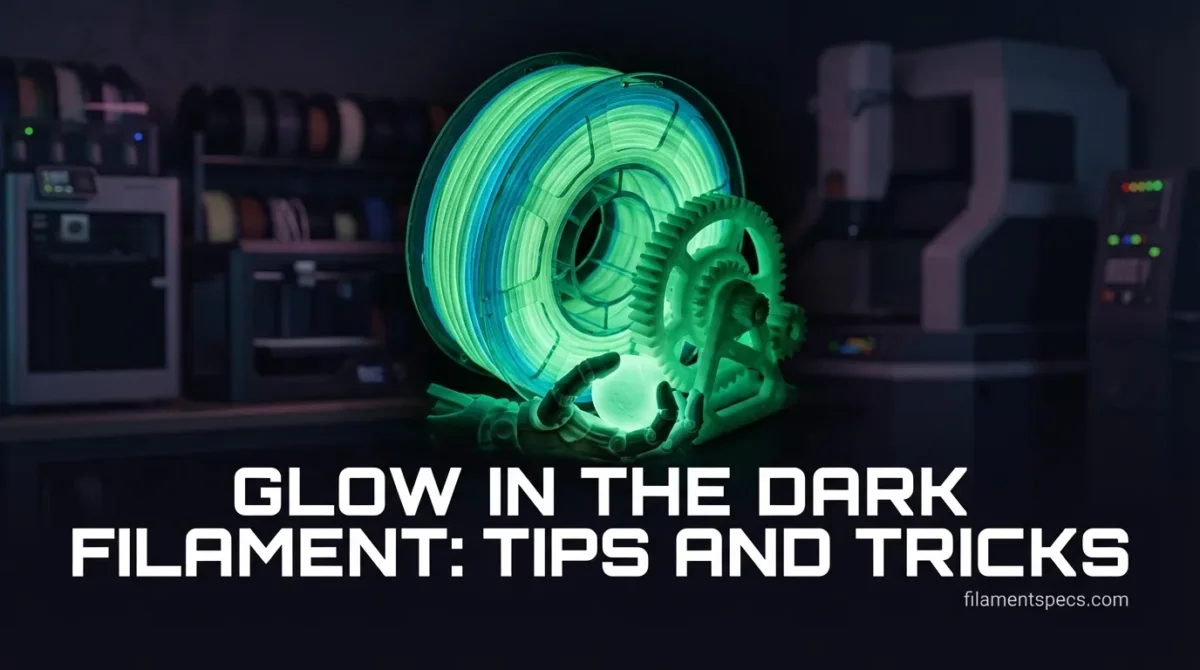
Glow in the dark filament is one of those materials that feels like a party trick—until you print it well. Then it becomes a seriously useful material for readable labels, practical markers, and models that pop in low light. The key is understanding what’s inside the filament, what the glow pigment “wants” from your print settings, and how to avoid the two classic killers: uneven surfaces and inconsistent extrusion.
Table of Contents
🔦 What It Is
Glow in the dark filament is typically a standard printing polymer (often PLA) blended with a phosphorescent powder. In normal light it may look slightly speckled or “chalky,” and in darkness it emits a visible glow after being exposed to light.
- Signage that stays readable
- Alignment marks on tools and fixtures
- Decor pieces with a functional twist
- Low-light tabletop models
One thing to keep in mind: glow is a surface-and-volume effect. A filament can print perfectly and still glow weakly if the part geometry doesn’t give the pigment enough “room” to show itself.
✨ What Makes It Glow
Many modern glow materials are based on strontium aluminate persistent phosphors activated with rare-earth dopants (commonly Eu and Dy families). These materials store energy from light and release it slowly as visible emission over time.[d]
- Phosphorescence vs. Fluorescence
- Fluorescence stops almost immediately when the light is removed. Phosphorescence keeps going because energy is temporarily trapped and released gradually.
- Why The Print Can Look “Dusty”
- The glow powder is a solid filler. If the surface is rough or full of tiny voids, light scatters in all directions and the glow can look uneven.
- Why Color Matters
- Darker base colors can visually “mask” glow. Natural or light bases tend to show a brighter-looking afterglow because less visible light is absorbed.
Glow Behavior You Can Actually Control
Brightness Drivers Practical
Notice what’s missing: “mystery tweaks.” For glow filament, the big wins usually come from geometry, smooth extrusion, and a charging light that matches the pigment’s response.
🛠️ Hardware Setup That Stays Consistent
Glow filaments commonly contain hard filler particles. Some manufacturers explicitly note increased nozzle wear with softer nozzles and recommend using more wear-resistant options.[c]
- For frequent printing, consider a wear-resistant nozzle (hardened steel or similar).
- If you’re chasing detail, keep the nozzle in good condition; a worn nozzle can blur edges and change line width.
- Use a clean filament path (dust on filament can add “free abrasion” you don’t need).
Nozzle Size: When Bigger Is Better
Glow pigment is a filler, so flow can feel slightly less “silky” than plain PLA. If clogs or under-extrusion show up, moving to a larger nozzle can stabilize things. One glow PLA datasheet explicitly supports 0.4, 0.6, and 0.8 mm nozzle sizes.[b]
A Simple Hardware Checklist
- Confirm the hotend is clean and heats steadily.
- Check the nozzle is not worn (especially if you print filled filaments often).
- Calibrate first-layer behavior so the surface is smooth, not “sandpaper.”
- Keep filament dry and dust-free for consistent extrusion.
🧩 Slicer Choices That Change The Glow
Glow prints reward stability. Start inside the datasheet ranges and adjust with a purpose: surface quality first, glow intensity second, speed last.
- Temperature Window
- Example glow PLA guidance lists a nozzle range of 185–225°C and print speeds of 40–110 mm/s, with layer heights up to 0.35 mm depending on geometry.[a]
- Cooling
- Many PLA glow recommendations keep the fan on (up to full) to hold edges sharp and reduce “glow smears” caused by glossy blobs.[a]
- Retraction
- An example glow PLA sheet specifies 0.6–1.0 mm retraction length and 20–40 mm/s retraction speed.[b]
Surface Quality Is The Glow Multiplier
- Favor settings that reduce tiny gaps: consistent line width, stable flow, and clean seams.
- If the surface looks chalky or pitted, the glow can look patchy because the part scatters charging light.
- Slow down only where it matters: outer walls, top surfaces, and overhangs.
🧱 Model Design For Brighter Afterglow
Glow intensity isn’t only “the filament.” Manufacturers note that intensity can depend on part construction choices such as wall thickness and infill density.[c]
Design Moves That Typically Help
- Use more walls for a more even glow on the outside surface.
- Prefer broad, clean surfaces over super-thin details if the goal is visibility in the dark.
- Keep the outer skin smooth; a cleaner surface charges more evenly and looks brighter.
- Orient the model so the “hero” face gets the best surface finish.
Top Surfaces: Where Glow Looks Most “Premium”
A well-formed top surface acts like a uniform glow panel. If you see tiny pinholes, treat it like a moisture or flow issue first—then revisit top-layer strategy.
🔋 Charging Light and Display Conditions
Strontium-aluminate phosphors can respond strongly to UV excitation; one study reports UV excitation at 344 nm for SrAl₂O₄:Eu²⁺ and green emission behavior associated with the Eu²⁺ transition.[e]
Charging Practicalities
- Brighter, shorter charging can beat dim, long charging (especially if your part is large).
- Uniform lighting matters. A single point light can “spot charge” and make the glow look uneven.
- Afterglow perception is a mix of real emission and your eyes adapting to darkness.
🧺 Storage, Drying, and Routine Care
Drying: When It’s Worth Doing
If you hear popping, see tiny bubbles, or the surface turns rough, treat moisture as the first suspect. PLA can absorb measurable moisture over time even at moderate humidity levels in datasheet testing conditions.[f]
A Drying Reference Point
- One glow PLA sheet lists a pre-print drying example at 55°C for 8 hours, plus storage under sealed desiccant conditions.[b]
Store glow filament like you mean it: sealed bag, desiccant, and away from heat. Some glow PLA guidance also explicitly recommends storage temperatures not exceeding 50°C.[a]
Routine Care That Keeps Results Repeatable
- Clean the build plate so first layers stay smooth (a smooth “base” helps the glow look even).
- Keep a small filament wipe before the extruder to reduce dust entering the hotend.
- When switching away from glow, purge until the extrusion is visually consistent.
🌬️ Printing Space and Handling
Good airflow and basic engineering controls improve both comfort and consistency. A safety guidance document on 3D printing describes ventilation and enclosure strategies, including reports of ~97–99% particle emission reductions using enclosures and exhaust/filtration approaches in cited studies.[g]
- Place printers where air can move without blowing directly on the part.
- If you use an enclosure, aim for steady temperatures and controlled exhaust rather than random drafts.
- Keep the workspace tidy; less dust means cleaner filament feeding and steadier extrusion.
❓ FAQ
Does Glow In The Dark Filament Print Like Normal PLA?
Often yes, especially when the base polymer is PLA. The main difference is the glow pigment filler, which can change flow feel and surface finish. Staying within the datasheet temperature and speed windows is the safest start.
Why Does My Glow Look Patchy?
Patchiness usually comes from uneven surfaces (tiny voids, rough top layers) or inconsistent extrusion. Improve surface quality first, then consider geometry choices like more walls on the faces you want to glow.
Should I Use A Special Nozzle?
If you print glow often, a more wear-resistant nozzle is a smart move. Some manufacturer guidance notes increased wear with softer nozzles and recommends wear-resistant options for glow materials.
What Light Charges Glow Filament Best?
Many strontium-aluminate phosphors respond strongly to UV light, and published phosphor studies report UV excitation conditions associated with green emission behavior. In practice, strong, even illumination charges parts more uniformly.
Do I Really Need To Dry Glow Filament?
If the surface looks rough, you see bubbles, or extrusion seems inconsistent, drying is worth it. Some glow PLA recommendations include explicit drying and humidity targets as part of their standard printing setup.
Why Did My Details Get Softer After A Few Spools?
A worn nozzle can widen slightly over time, changing line width and reducing sharpness. Filled filaments like glow can accelerate wear on softer nozzles, so periodic nozzle checks help maintain detail.
Sources
- [a] Spectrum Filaments PLA Glow in the Dark – Technical Data Sheet (PDF)
- [b] KINGROON PLA Glow – Technical Data Sheet V1.0 (PDF)
- [c] Spectrum Filaments – PLA Glow in the Dark (Manufacturer Guidance Page)
- [d] Springer – Long-Persistent Luminescence Materials (Chapter Preview)
- [e] Journal of Materials Science: Materials in Electronics – Luminescence Behavior of Europium Activated Strontium Aluminate Phosphors (Abstract/Preview)
- [f] Prusament PLA – Technical Datasheet (PDF)
- [g] CDC/NIOSH – Approaches to Safe 3D Printing: A Guide for Makerspace Users, Schools, Libraries, and Small Businesses (PDF)